Stop your floor-to-ceiling windows from turning into a furnace — before the AC pays the price
Floor-to-ceiling glazing creates dramatic light and views — and predictable midday overheating that spikes energy bills, causes uneven comfort, and shortens HVAC life. The fastest way to prevent those problems in 2026 is not a bigger AC: it's a sensor-driven automation strategy that uses solar sensors, temperature sensors, and time-aware logic to operate shades, blinds, and HVAC as one coordinated system.
Key takeaways (read first)
- Use multiple sensors: combine exterior solar irradiance with interior temperature and occupancy to avoid false triggers.
- Prioritize shade actions: automated shading reduces solar gains far more cheaply than running more cooling.
- Coordinate HVAC: let smart thermostats raise setpoints or pre-cool based on shade state and forecasted sun hits.
- Prevent chatter: use hysteresis and timers so shades and vents don’t constantly oscillate.
- Design for failure: local manual override, network redundancy, and secure cloud/backups keep comfort reliable.
Why sensor-driven automations matter now (2026 context)
By 2026, two trends make sensor-driven shading essential: more homes have expansive glazing, and controls are finally mature. The consumer market now offers compact, accurate solar sensors and widespread support for standards like Matter and Thread, which means shades, blinds, and thermostats can talk to each other more reliably. Edge-based automation — on-device rule execution rather than cloud-only — reduces latency and privacy risk. For homeowners this translates to better overheating prevention, lower peak demand, and more stable indoor comfort without manual fiddling.
The control stack: what to include
Designing a reliable solution starts with picking the right sensors and actuators, and making sure they integrate. Below is the recommended stack for a room with large, floor-to-ceiling windows.
Sensors
- Exterior solar irradiance sensor — measures direct sunlight intensity (W/m²). Place it near the façade to track real incident energy, not on the roof.
- Interior temperature sensors — at head height and away from direct sun to read conditioned space temperature accurately.
- Glass surface temperature or near-window sensor — optional, helps detect radiant heat transfer through the glass.
- Occupancy sensors — PIR or ultrasonic sensors to avoid shading for empty rooms unnecessarily.
- Weather & forecast feed — cloud or local API for solar forecasts and outdoor temps (useful for pre-cooling).
Actuators
- Motorized shades or blinds with position feedback (percentage open) and API or hub support (Matter/QoS: Thread, Zigbee, Z-Wave).
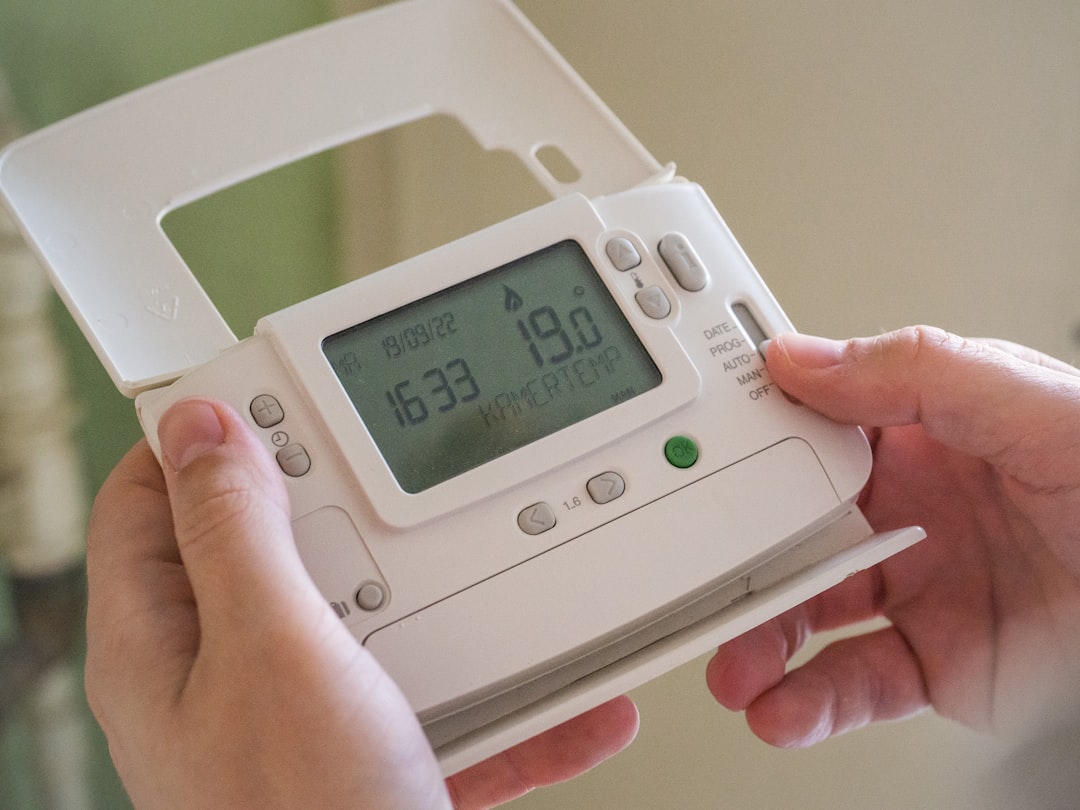
- Smart thermostat / HVAC zone controller capable of setpoint scheduling, remote sensing, and accepting external events (e.g., "shades closed").
- Vent controllers / zone dampers for fine-tuning airflow if you have multi-zone HVAC.
Integration layer
Use a home automation hub that supports local rule execution (Home Assistant, commercial BMS options, or hub features built into advanced smart thermostats). The hub must be able to read the sensors, control shades, and send commands to the thermostat — ideally over Matter or directly via vendor APIs for low latency.
Design principles: how to think about automations
Start with these principles and you’ll avoid the common trap of reactive automations that chase symptoms instead of preventing heat gain.
1. Prevent gains early — shade first
Blocking solar radiation before it becomes heat is far more effective than trying to remove that heat with the AC. Configure rules so shades partially or fully close when solar irradiance rises above a threshold — even if indoor temperature hasn’t risen yet.
2. Use multi-sensor logic to avoid false positives
Don’t rely on a single data point. Combine a solar irradiance reading with interior temperature and occupancy. Example logic: if solar irradiance > X W/m² AND interior temp > setpoint - 2°F AND room occupied, then engage shading. This minimizes unnecessary shading on cold sunny days.
3. Coordinate with HVAC — not fight it
When shades are closed and daytime heat is suppressed, you can raise the thermostat setpoint slightly to save energy, or delay AC staging to avoid short-cycling. Conversely, if a heat wave is forecast and shades won't fully eliminate radiant gains, the system should pre-cool the space during low-tariff hours.
4. Add inertia: hysteresis and timers
Shades and HVAC should not react to tiny, rapid fluctuations. Implement a hysteresis window (for example, a 1–2°F deadband) and a minimum action duration (e.g., keep shades in a new position for at least 15 minutes) to prevent chatter and motor wear.
5. Respect daylight and occupant preferences
Smart shading isn’t only about minimizing heat. Use optical rules: when natural light is needed for tasks, allow partial opening; when privacy or glare control is primary, bias toward lower positions. Include user override and learning: let the system adapt to manual adjustments.
Concrete automation recipes (apply to any platform)
Below are practical automation patterns you can import or translate into your hub — each includes trigger, conditions, and actions.
Recipe A — Solar-first shading
- Trigger: exterior solar sensor reads > 400 W/m² for 2 minutes.
- Conditions: room occupied OR interior temp > (thermostat setpoint - 2°F).
- Actions: close shades to 60% for 30 minutes; send a “shades engaged” state to the thermostat.
- Follow-up: if shade closes, thermostat raises cooling setpoint by 2°F for duration; revert when shades re-opened.
Recipe B — Pre-cool for forecasted heat
- Trigger: weather forecast predicts 90°F+ between noon–5pm and current interior temp < setpoint.
- Conditions: energy rate low OR house occupant schedule indicates presence.
- Actions: lower thermostat setpoint by 1–2°F between 10–11am while shades remain open for daylight; at 11am, close exterior shades to 50% and raise setpoint back to normal.
Recipe C — Sun-path azimuth control (for east/west glazing)
- Trigger: local sun azimuth enters a configured angle range where direct sun hits the glazing.
- Conditions: solar irradiance > 200 W/m².
- Actions: tilt venetian blinds to a reflective angle or deploy external shades; if interior temp rises above setpoint +1°F, command the HVAC to stage cooling.
Sample pseudo-code (platform-agnostic)
if solar_irradiance >= 400 and (interior_temp >= setpoint - 2 or occupancy == true): set_shade(position=60) thermostat.raise_setpoint(+2) wait 30 minutes if solar_irradiance < 350 for 10 minutes: set_shade(position=0) thermostat.restore_setpoint()
Case study: living room with south-facing floor-to-ceiling windows
Context: 2,500 ft² house, open-plan living room with 20 ft of south glazing, motorized external roller shades, exterior solar sensor mounted 3 ft from the window, interior thermostat in an adjacent hallway.
Problem: daily solar peaks raised interior temps 4–6°F above thermostat setpoint between 12–3 pm; AC cycled aggressively, increasing runtime and bills.
Solution implemented:
- Installed one exterior solar sensor per 10 ft of glazing, two interior temperature sensors (living area and sofa zone), and integrated motorized shades via a Matter-capable hub.
- Automations: shades closed to 70% at 350 W/m² if room occupied; thermostat allowed a +2°F setpoint while shades were closed; pre-cooling at 10am when forecast predicted high solar gain.
- Added hysteresis: shades remained closed for at least 20 minutes and only re-opened when irradiance < 300 W/m² for 10 minutes.
Outcome (first 90 days): noticeably reduced midday temperature spikes and fewer AC cycles; homeowner reported better comfort and a perceived energy saving (utility billing showed a 12% reduction in cooling-related kWh in peak months). Maintenance issues were minimal because the automation favored shade-first action and avoided unnecessary AC cycling.
Sensor placement and calibration best practices
Accuracy depends on where you put things.
- Exterior solar sensors: mount at the same orientation and tilt as the window face, within 1–3 ft of the glass, and sheltered from reflections (don’t place under eaves that block sun).
- Interior temperature sensors: not on interior walls directly exposed to sun or near vents—place at typical occupant head height (3–5 ft) in the breathing zone.
- Glass temperature sensors: stick-on sensors can measure radiant loads but must be fully adhered and shaded from direct environmental elements.
- Calibration: compare sensors for the first 48–72 hours and tune thresholds. Solar sensors may need seasonal threshold adjustment since zenith angle changes the irradiance for the same W/m² reading.
Avoiding common pitfalls
- Don’t tie automations to a single indoor thermostat reading — large rooms with glazing often have stratified temperatures.
- Beware of automatic rules that close shades at night because they were tied to ambient light sensors; use time-of-day constraints to preserve night views.
- Prevent motor wear: limit shade movements to a reasonable daily count (for example, no more than 6 deployments/day unless motors are rated for frequent cycles).
- Watch privacy preferences: automatic closing can feel intrusive — always allow easy manual override and “smart learning” that adapts to user adjustments.
Security, reliability and fail-safes
As automations take charge of comfort, reliability and safety matter more than ever.
- Local fallback: keep critical automations local to work if your cloud connection drops. Platforms like Home Assistant and many modern hubs support local rule execution.
- Manual overrides: every automated action must be instantly overridable at the shade motor or via a physical switch.
- Power and battery: ensure shade motors have battery backup or manual operation in case of power loss; smart thermostats should store schedules locally.
- Network security: segment IoT devices on their own VLAN, enable strong passwords, and keep firmware updated.
Advanced strategies and what's coming in 2026–2027
Expect richer data and smarter on-device models in the next 12–18 months. Practical advances to watch:
- Edge ML for predictive shading: local models that predict interior temperature rise from incoming solar profiles and adjust shades proactively without cloud latency.
- Standardized solar sensors: more consumer-grade irradiance sensors with built-in calibration and Matter compatibility will arrive, simplifying multi-window deployments.
- Tighter HVAC coordination: smart thermostats increasingly accept external sensor inputs and event flags (e.g., “shades engaged”), enabling staged cooling and heat-pump optimization to reduce short cycles.
- Utility integration: demand-response programs will reward homes that use shading + setpoint nudges during peak hours — automated shading can help participate without sacrificing comfort.
Checklist: deploy a robust shading + HVAC automation
- Audit glazing orientation, area, and existing shading.
- Choose a hub that supports local automations and Matter/Thread where possible.
- Install at least one exterior solar sensor per major glazing zone and two interior temperature sensors per large room.
- Select motorized shades with position feedback and rated for expected daily cycles.
- Program shade-first automations with hysteresis and occupancy checks.
- Integrate thermostat events to raise/lower setpoints when shades change state.
- Run a 2–4 week calibration period; log sensor data, refine thresholds, and tune delays.
- Document override locations and schedule periodic battery/firmware checks.
Final thoughts — design for people, not just numbers
Automations that prevent overheating should make life more comfortable, not more complicated. Start with clear rules that prioritize shading, then add HVAC coordination and predictive pre-cooling. Keep the human in control with simple overrides and preference learning. With the new generation of sensors and local automation options available in 2026, you can protect your floor-to-ceiling windows from overheating while improving comfort and cutting peak cooling costs.
Get started: free automation planning resource
If you’re ready to convert your windows into an asset instead of a problem, download our free 10-step shading & HVAC automation planning checklist — it includes sensor placement diagrams, threshold templates, and a troubleshooting guide used by our field engineers.
Call to action: Visit heating.live/automation-checklist to download the checklist or book a free 30-minute consultation with a certified systems designer who can map a tailored automation plan for your floor-to-ceiling glazing.
Related Reading
- Seasonal Energy-Saving Tips: When Small Tech Replacements Lower Farm Bills
- Brooks vs Altra: Which Promo Codes Give You the Bigger Savings?
- Hiring in a Churned AI Market: How to Recruit and Retain Talent When Labs Poach Each Other
- Playlist: Songs That Sound Like Haunted Houses — From Mitski to Prince
- How YouTube’s Monetization Shift Lets Travel Creators Cover Tough Topics Without Losing Revenue