Stop letting your windows run your HVAC bill: automated shading that actually saves money
Big, sunny windows are beautiful—but they’re also one of the fastest ways to send your cooling or heating costs up. In 2026, affordable smart home tech (Matter-ready smart plugs, motorized shades, smart thermostats and utility demand-response programs) lets homeowners turn windows from a problem into a predictable energy-saving asset. This guide gives step-by-step automation plans—using motorized shades, smart plug shades and smart scheduling—to cut HVAC loads, improve comfort and integrate with modern grid incentives.
Why window automation matters now (2026 context)
Two big trends changed the calculus in late 2025 and early 2026:
- Mature interoperability: Matter-certified smart plugs and controllers from major brands became widely available in 2025, making cross-platform automations easier and more reliable.
- Grid-aware homeowners: More utilities are rolling out time-of-use rates and demand-response incentives; combined with rising heat-pump adoption, shifting cooling/heating load through window control is now financially impactful.
Put simply: you can now automate shades with low-cost components and tie them to thermostats, weather forecasts and utility signals to reduce peak HVAC draw and lower bills.
How windows affect HVAC loads (short primer)
Windows influence your home’s thermal balance in two ways:
- Solar heat gain in summer increases cooling load when direct sun heats interior surfaces.
- Heat loss and gain through glazing in winter and shoulder seasons alters heating needs.
Automated shading attacks the problem at the source: reduce unwanted solar gain in summer and allow passive solar heating in winter—timed automatically to match temperature goals.
When to use a smart plug for shades—and when not to
Smart plugs are tempting because they are cheap and easy. But they are not a universal solution for every motorized shading device. Use a smart plug for shades when the motor is:
- Designed to run on continuous mains power and uses a simple on/off to move full travel (roller shades with timer-based runs or tubular motors with fixed run-time).
- Protected by internal limit switches so power loss or power-on doesn’t cause overrun.
Avoid smart plugs when:
- The motor requires momentary pulses (a press-type remote) rather than continuous power.
- The motor draws high inrush current exceeding the plug rating.
- You need fine position control or local safety interlocks (e.g., child-safety rewind).
For those cases, choose an in-line smart relay (Shelly, Fibaro, Sonoff, or manufacturer-provided wired controllers) or buy shades with built‑in smart modules.
Device selection checklist (practical buying advice)
- Smart plug specs: Matter-certified (preferred), 15 A (or higher) rating for motors, energy monitoring, local automation capability.
- Shade motor type: tubular motor with limit switches or a manufacturer motorized shade kit that supports app control or a wired relay.
- Hub/platform: Home Assistant, Apple Home, Google Home, Amazon Alexa, or SmartThings—pick one you’ll actually use. Matter compatibility reduces friction.
- Sensors: Temperature sensor, illuminance (lux) sensor or a smart camera/sky sensor for sun detection, and occupancy/motion sensors for presence-based logic.
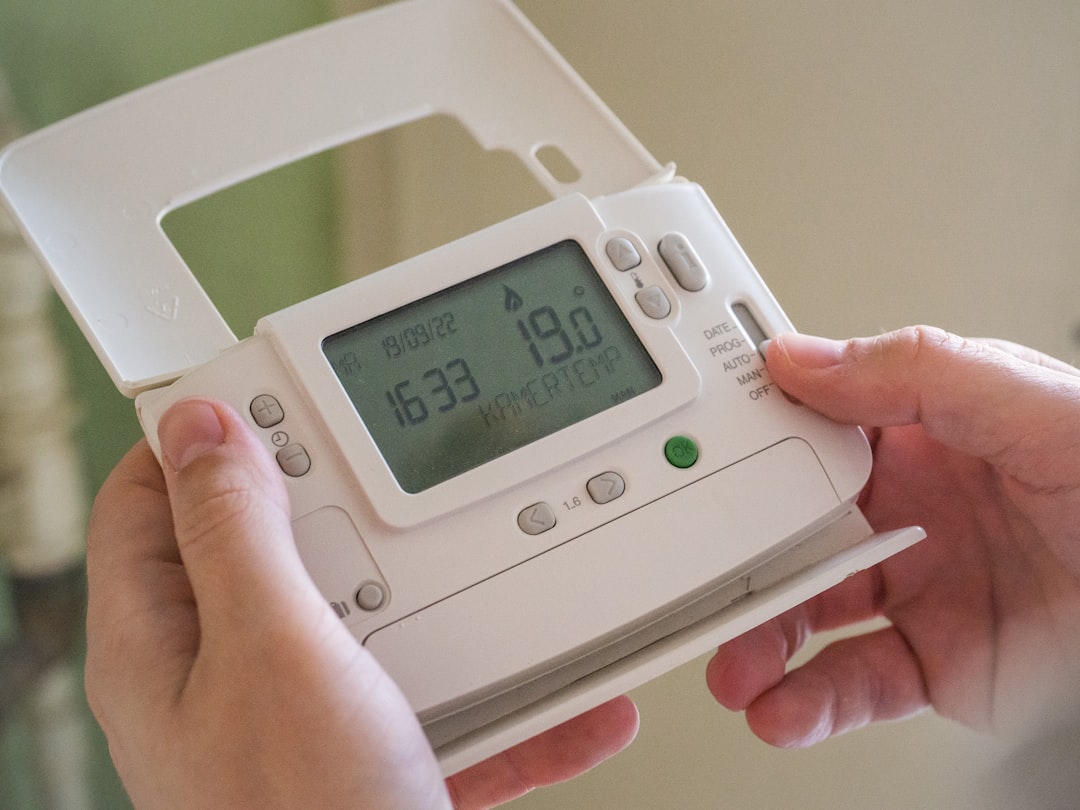
- Smart thermostat: A modern Wi‑Fi or Matter-compatible thermostat with scheduling and API/automation support. Heat-pump thermostats are ideal for pre-cooling strategies.
Safety & reliability tips
- Check motor startup current. If uncertain, use a relay or installer-grade controller rather than a cheap smart plug.
- Test limit switches and manual overrides before automating.
- Use energy-monitoring smart plugs so automations can auto-stop the motor if run time is exceeded (detects stalls or obstructions).
- Keep local physical control available—family members should still be able to operate shades manually.
Five step-by-step automation plans
Below are tested automation plans you can implement today. Each plan lists components, setup steps, scheduling examples and expected outcomes.
Plan A — Quick win: single room, south-facing living room
Best for homeowners wanting a low-cost pilot project.
- Components: Motorized roller shade with built-in limit switches OR tubular motor + plug-in transformer, Matter-certified smart plug (15A), smart thermostat, optional lux sensor.
- Setup steps:
- Install the shade and set travel limits per the manufacturer.
- Plug motor transformer into the smart plug and add it to your hub (Matter if available).
- Create two routines: “Summer Close” and “Open.” Summer Close triggers at sunrise+2–3 hours or when lux > a threshold; Open at sunset or when indoor temp drops below setpoint -1°F.
- Link to thermostat: when shades close, raise cooling setpoint by 2°F. When shades open, restore normal setpoint.
- Example schedule: Close at 10:00 AM weekdays (keeps afternoon sun out), open at 6:00 PM. Add cloudy-day override using weather API.
- Expected impact: Reduced peak cooling demand in that room; homeowners often see quick comfort gains and modest bill reductions. Over several months, savings are measurable and scale with window area.
Plan B — Whole-room coordination: living + dining with multiple windows
Use when you have several exposures and want consistent comfort and shading behavior.
- Components: Motorized shades per window (match motor/brand), smart plug shades or wired relays, central hub (Home Assistant recommended for advanced automations), temperature and occupancy sensors, smart thermostat.
- Setup steps:
- Group windows by exposure (east, south, west) in your hub.
- Create scene “Daytime Cool” that closes east and west shades earlier than south shades to block low-angle sun; south shades close when solar angle + lux threshold met.
- Use occupancy sensor to keep shades open in a room when people are present and the sun is desirable (e.g., morning sun in winter).
- Sync with thermostat: if room temp rises 1–2°F above target, shades go to full close and thermostat engages cooling call; if temp still rises, escalate to whole-home cooling mode.
- Scheduling examples: East shades close at sunrise+60 min (summer), south shades close at peak insolation (solar noon - offset) and reopen at evening civil twilight.
- Expected impact: Better distributed cooling load reduction, fewer hot spots and improved whole-house energy efficiency.
Plan C — Solar-tracking automation (advanced)
Automate shades based on sun position for maximum solar control—great for homes with floor-to-ceiling glazing.
- Components: Shades with reliable position control (prefer manufacturer smart module or wired relay), hub with sun-position plugin (Home Assistant or commercial gateways), lux sensor for validation, smart thermostat.
- Setup steps:
- Enter your home coordinates into the hub.
- Create a rule: when sun azimuth crosses the window’s bearing and solar elevation > threshold, lower shades to a defined position (e.g., 60% closed) to block direct rays but allow views.
- Integrate with weather forecast: if forecast predicts heavy cloud, delay closure to preserve daylight gains.
- Advanced tip: Use partial positions to allow daylight while blocking direct glare—reduces lighting needs while cutting solar heat gain.
- Expected impact: Maximizes reduction of solar gain without sacrificing daylight. Particularly effective for west-facing afternoon sun.
Plan D — Winter comfort optimization
Use shading to capture passive heat in heating season and prevent heat loss at night.
- Components: Same hardware, plus location-based sunrise/sunset scheduling and indoor temperature setpoints.
- Setup steps:
- Open south-facing shades at solar noon in winter to harvest passive heat.
- Close shades at night to add R-value and reduce radiant heat loss through glass.
- Link to thermostat: when shades open and indoor temp rises toward setpoint, adjust heating setback to save energy.
- Expected impact: Lower heating runtime and improved morning comfort. Combined with a heat-pump thermostat, you can pre-heat during lower-rate hours then use passive solar gain to maintain comfort.
Plan E — Utility-aware load shifting and demand response
Use shading automation together with a smart thermostat to shift HVAC usage away from peak price periods.
- Components: Shades with reliable controls, Matter smart plug or relay, smart thermostat that supports utility signals or IFTTT/API integration, smart home hub for orchestration.
- Setup steps:
- Subscribe to your utility’s time-of-use or demand-response program.
- Set automation: when utility signals a high-price period, close shades proactively and raise cooling setpoint 2–3°F (or lower heating setpoint) to reduce HVAC demand.
- After the event, perform a controlled reconditioning (pre-cool/pre-heat) during low-price hours to restore comfort.
- Expected impact: Lower bills through fewer expensive runtime hours; some programs pay incentives for load reduction during peak events.
Automation logic examples (triggers & actions you can copy)
Use these practical, copy/paste-ready rules in your home hub:
- Summer comfort: If outdoor temp > 80°F AND south-facing lux > 50,000 lux, then close south shades to 100% and raise cooling setpoint +2°F.
- Cloudy-day override: If cloud cover > 70% (weather API) then postpone shade closure for up to 2 hours.
- Occupancy safety: If motion detected in room within last 15 minutes, keep shades open between 8–10 AM for occupant comfort (winter mode).
- Overrun protection: If motor runs > preset run time + 20%, cut power and send alert to phone.
Estimating savings (practical approach)
Exact savings depend on glazing, climate, shading direction and HVAC type. Use this practical method to estimate:
- Note your utility’s cooling/heating seasonal bill and calculate daily energy cost for a sample period (e.g., a hot month).
- Measure or estimate window area and orientation. Large, west-facing glazing costs more to condition.
- Implement a single-room automation (Plan A) for 30 days and compare energy use against a matched baseline period (or use your smart thermostat’s historical runtime reporting).
Industry and manufacturer data often show interior shading can reduce peak solar gain significantly; practical field pilots typically reveal measurable savings in the first season when shading is well-tuned.
Maintenance and troubleshooting
- Verify limit switch settings once per year and test manual override controls.
- Watch energy monitoring logs for signs of stalled motors or excessive run time.
- Keep firmware updated on smart plugs and hubs—Matter updates improved reliability markedly across 2025–2026.
- If a motor overheats or stalls, cut power and inspect the track for obstructions.
Advanced strategies for 2026 and beyond
These near-term trends are becoming mainstream:
- AI-driven solar forecasting: Services now predict solar gain windows by the hour; hubs can pre-position shades for optimal balance of daylight and heat control.
- Grid-interactive buildings: Aggregated shading + thermostat controls can participate in utility demand-response or virtual power plants for payments.
- Voice and natural controls: With Matter and better HCI, combine voice commands and AI routines (e.g., “movie mode” that dims shades and sets HVAC) without brittle automations.
Pro tip: Start with one or two critical windows, measure results, then scale. Automation rules are most effective when tuned from real data, not guesses.
Common pitfalls and how to avoid them
- Pitfall: Buying a cheap plug that can’t handle your motor. Fix: Check amperage/inrush ratings and use a relay when in doubt.
- Pitfall: Over-automation creating user frustration. Fix: Always include a clear manual override and simple “hold” controls in your routines.
- Pitfall: Ignoring weather variability. Fix: Use cloud or brightness sensors to add resiliency.
Case study snapshot (real-world style)
In a suburban heat-pump home with large west-facing living room windows, a homeowner installed tubular motor shades on three windows controlled by Matter smart plugs and a Home Assistant scheduler. By closing shades during 3–6 PM and raising the thermostat setpoint 2°F during those hours, the home reduced peak A/C runtime by ~25% on hot days and saw lower peak demand during utility events. After six months, the homeowner reported improved evening comfort, a 6–10% reduction in seasonal cooling energy in that zone, and small utility bill credits from participating in demand-response events.
Next steps you can take today
- Audit your largest window exposures and prioritize east/west/south-facing windows for automation.
- Buy one Matter-certified smart plug rated for motors and test it with a single motorized shade.
- Set up simple automation (close during peak sun hours + small thermostat adjustment) and measure results for 30 days.
- If you have many windows or complex motors, consult a certified installer for relay-based control and safety checks.
Final takeaway: automated shades are a high-leverage upgrade
In 2026, the intersection of mature smart-home standards, utility programs and more efficient HVAC equipment makes automated window strategies one of the most cost-effective ways to reduce HVAC bills and increase comfort. Whether you start with a single smart plug shade or roll out a whole-house solar-tracking setup, the keys are proper hardware selection, sensible scheduling and data-driven tuning.
Ready to lower your HVAC bills? Start with a one-window pilot using a Matter-capable smart plug and a motorized shade—test for 30 days, compare energy use, then scale. If you want a custom automation plan for your house, contact a vetted local installer who understands shading controls and HVAC integration.
Related Reading
- Field Review: Grid‑Integrated Micro‑Inverter Stack for Neighborhood Backup — Hands‑On (2026)
- Compact Solar Backup Kits for Your Mobility Needs — Field Review (2026)
- Portable Power Stations Compared: Best Deals on Jackery, EcoFlow, and When to Buy
- Hands‑On Review 2026: In‑Wall Smart Surge Protectors & Load Monitors for Everyday Homes
- The Evolution of Yoga Teaching in 2026: Hybrid Studios, AI Feedback, and Sustainable Cashflow Models
- What Fans Need to Know About Ticketing Scams for BTS’s Arirang Tour and How to Fight Them
- Designing a Winter Dog Jumpsuit: Insulation, Waterproofing and Freedom of Movement
- Feature: How AI Tools Are Reshaping Scriptrooms — From Prescription Narratives to Patient Education (2026)
- DIY Home Olive Pressing: Could You Turn Your Kitchen Into a Micro-Mill?